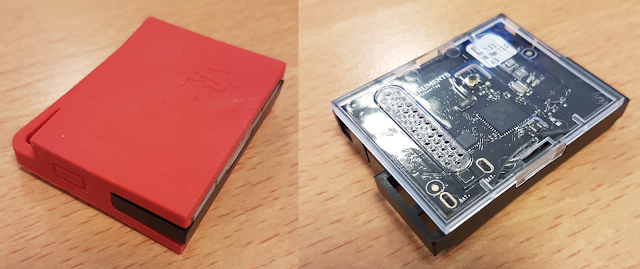
This is a cute "dev board" from Texas Instruments. It features the TI CC2650 Wireless MCU which uses a 48MHz ARM Cortex M3 processor and has 128KB of programming RAM.
It also has a heap of sensors included for measuring light, digital microphone, magnetic sensor, humidity, pressure, accelerometer, gyroscope, magnetometer, object temperature, and ambient temperature. See screenshots below.
 |
| SensorTag back |
As usual for a development board you wouldn't want to use this board for a commercial product. However, for a prototype or DIY project, this is a ready-to-use platform.
For demo purposes it has a simple peripheral example already preloaded which can be seen from any BLE explorer application (I used LightBlue)
This is just a demo so obviously it doesn't do much at the moment. To program it you also need to purchase the separate USB Debugger board.
The debugger plugs directly into the SensorTag board, which allows you to connect it to your PC via a USB socket. Attaching just the debugger baord to the SensorTag board without the USB connected will disable the SensorTag from running its firmware. I assume this disconnects the SensorTag's built-in battery. Once you plug in the USB cable it will start running again, again assuming that it runs off the power from the USB cable.
You can use TI's own CCS7 to develop and debug your own applications on the MCU and it is a fairly simple process to test the basic kernel functions, clock timers and onboard LED (blinky!)
However, if you want to develop wireless applications the setup is a bit more complicated (I go into more detail on this in another post). Essentially, you will need to rebuild the device boot manager and BLE stack along with the actual application.
Here are some close up photos of the debugger board. Note the unused pin headers for serial comms (top of the board) and the extra socket on the back for stacking additional dev boards.
 |
| USB Debugger board front |
 |
| USB Debugger board back |
Full technical specs can be found here.
I highly recommend reading this document to get started with the examples.


Comments
Post a Comment